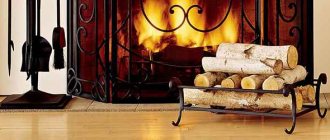
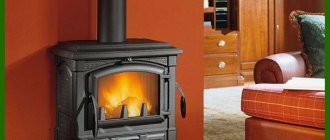
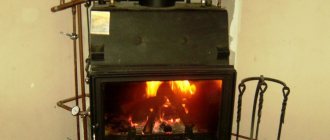
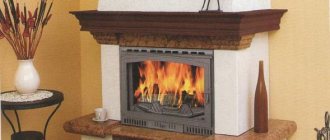
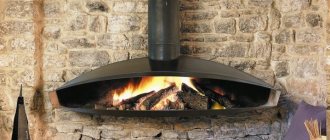
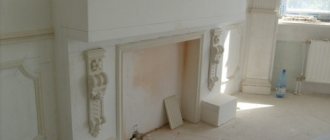
Two centuries ago, a fireplace was a luxury, but now, due to the abundance of aesthetically beautiful and cheap materials, it has become available to everyone. There are many installation and construction options on the market. We will prove that a fireplace with your own hands is real. We will also analyze the construction with step-by-step instructions for maximum savings.
DIY project
Now there are a lot of ready-made, adapted project options on the Internet. You need to choose the appearance of the firebox: open or closed. Decide on your purpose.
Cooking food, or heating the room. If heating, then with water heating or air heat transfer. In some cases, it serves only as a decorative part of the interior of the room. Their purpose is to promote relaxation for the home owner, relaxing him with the warmth and sight of a fire.
Which fireplace without a chimney is better?
Biofireplaces operate on bioethanol, which is poured into a fuel container. This is a liquid alcoholic substance obtained by fermenting sugars from agricultural crops: corn, grapes and beets. The process is based on the biological decomposition of biomass, which makes it possible to classify bioethanol as an environmentally friendly fuel that burns with the release of harmless carbon dioxide and water. Gel for gel fireplaces is made using a mixture of pure isopropyl alcohol, salt, water and thickeners, without aromatic additives. When this fuel burns, the salt creates a crackling sound similar to the sound of burning logs in a wood-burning fireplace. Despite the different manufacturing recipes, gel fireplaces, like biofireplaces, do not produce substances hazardous to humans during combustion. This explains the absence of a chimney in the configuration of these devices.
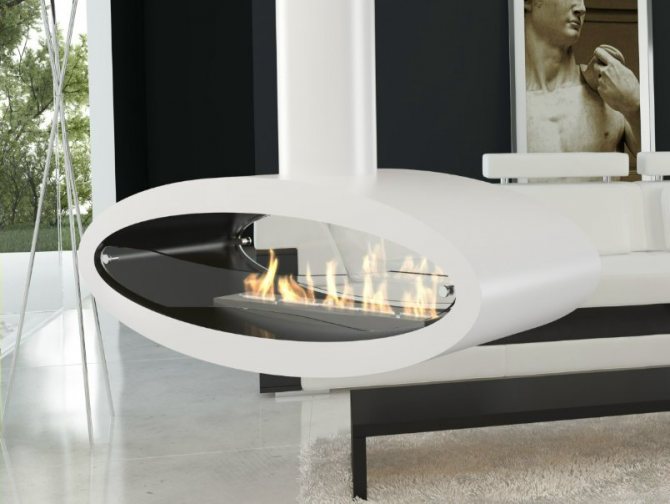
The gel is supplied in special containers (jars), which are installed inside the fireplace and set on fire. Once they are empty, they are simply thrown away. Bioethanol is poured into the container of the biofireplace, before it is turned on, and only into a cold container - in order to avoid an explosion of alcohol vapors. Bioethanol can only be stored away from sources of open fire.
Alcohol and gel fireplaces can be installed in any room.
The flames produced by these two fuel sources are also very different. The gel produces a slow-burning, crackling flame of rich yellow color. The height of the flame of such a device cannot be adjusted - if you want to get a volumetric flame, then it will be enough to simply place a few cans with gel filler nearby. Essentially, a can of gel fuel is the fuel block of a fireplace.
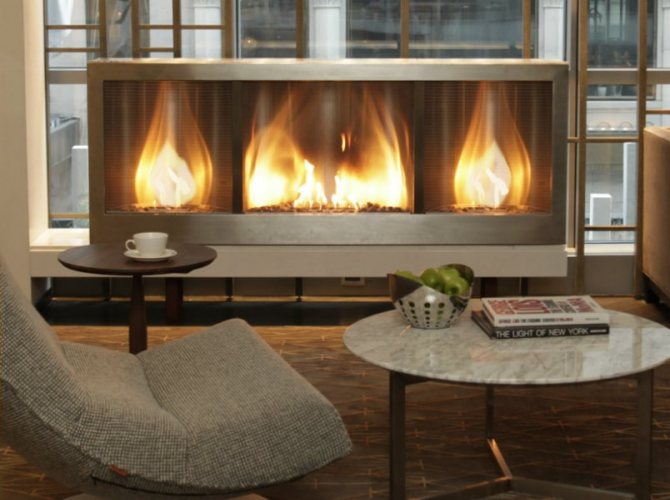
Turning on a gel fireplace is quite simple - just hold a long burning match to it. To extinguish, you need to close it with a lid, blocking the access of oxygen to the fire. The burning duration of a gel fireplace is approximately 2.5 -3 hours, and the time delta from switching on to reaching the full operating power of the device (up to 3.5 kW/h) is 30 seconds. Unlike a bio-fireplace, which can increase the temperature in the room, a gel fireplace produces virtually no heat and is used as a decorative element of the interior.
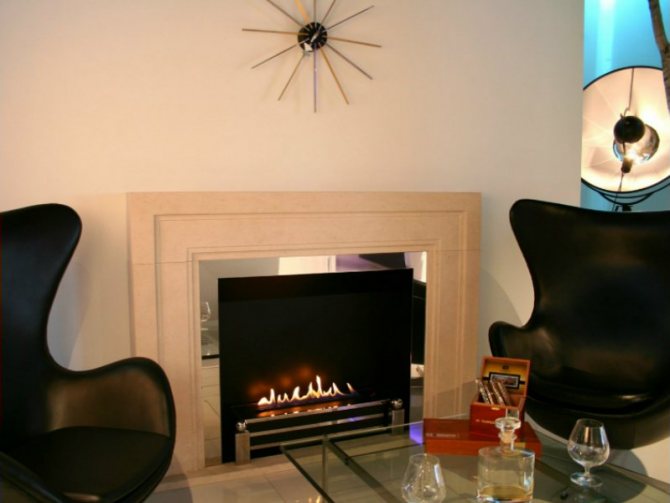
The flame produced by bioethanol is orange. It is distracted and playful. In general, one liter of bioethanol can burn for up to five hours, depending on the volume of the fuel tank. In this case, it will take 5 - 15 minutes for the device to start working at full intensity. Unlike a gel fireplace, whose fuel cannot be spilled due to its thick consistency, biofireplaces have more stringent requirements for their maintenance. So, they need to be carefully filled and cannot be placed outdoors, without a glass-ceramic screen to dampen gusts of wind. Ignition of the bio-fireplace using paper or wood is completely excluded - turning it on can only be done with a piezo lighter on a long handle. The height of the flame in manually controlled biodevices is controlled by a metal holder that moves the firebox lid, and in expensive automatic models - using a remote control. The operating time of the biofireplace is 5-8 hours.
Calculation of materials
Using a ready-made project found on the Internet, you recalculate the design estimates to fit your dimensions and the dimensions of the planned structure. The approach to budget preparation must be very thorough.
This will save you time and effort on multiple trips to the store for missing items. Make sure you have all the construction tools you may need.
Making a tabletop model
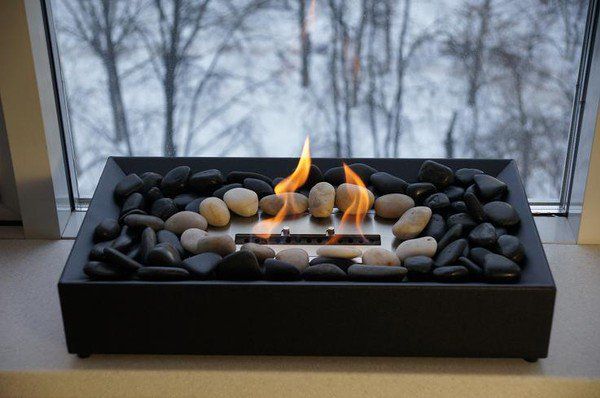
If you decide to make a tabletop alcohol fireplace with your own hands, start by drawing up a detailed diagram (drawing) or sketch. This will greatly facilitate the progress and process of work.
Choose the room that is most suitable for its area (from 20 square meters), with good ventilation and several windows.
Tip: the main part of this design is the fuel tank. It must be made of non-flammable materials. It is recommended to buy this element in a specialized store, but if you wish and are unable to purchase, you can make it yourself.
In this step-by-step guide, we will need a fuel tank that has a rectangular shape:
- We cut out a container in the stand with a similar shape to the fuel tank;
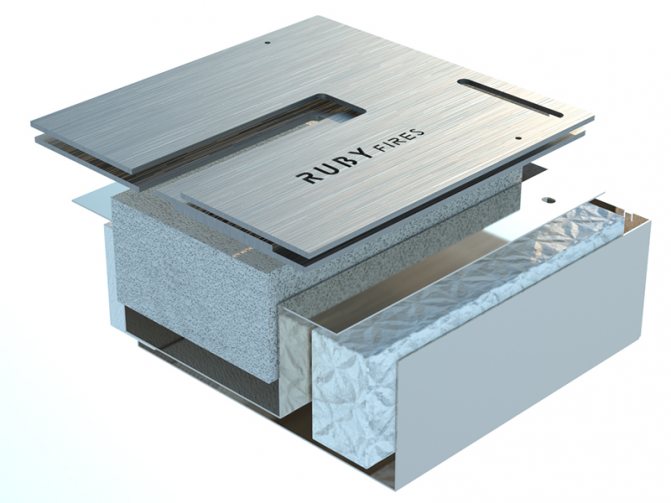
- Such a container can be made from a sheet of metal. For this we use stainless steel. The box should consist of two compartments (internal, into which fuel is poured, and external, in which combustion and evaporation processes occur). The wall thickness should be about 4 millimeters;
- It is necessary to make small holes between the inner and outer parts, which will ensure that vapors enter the fuel combustion compartment;
- Also, as an alternative, you can use a metal mug with a mesh attached to the top. Thus, the resulting flame will be cut;
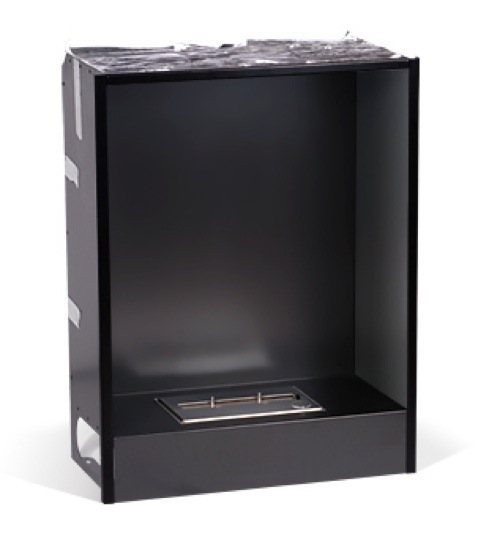
- Next, we proceed to manufacturing the body. To do this, we need to assemble a special frame for our burner. The materials you can use are heat-resistant glass, plasterboard and other high-quality and durable materials. To connect the elements, self-tapping screws or construction adhesive are used, depending on the selected material;
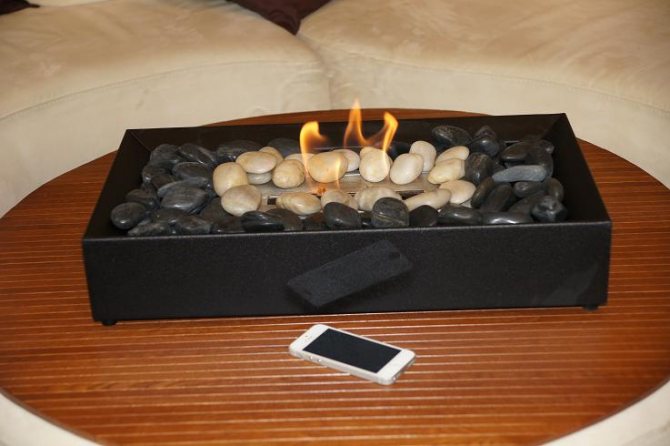
The simplest designs may not have sidewalls
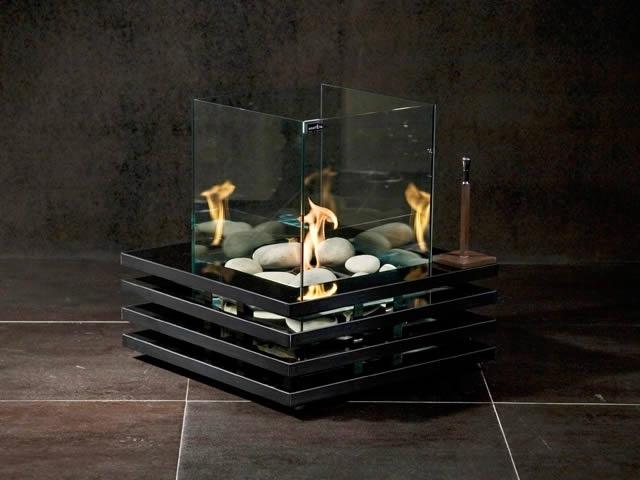
Floor-standing alcohol models can be bought in stores at a fairly low cost.
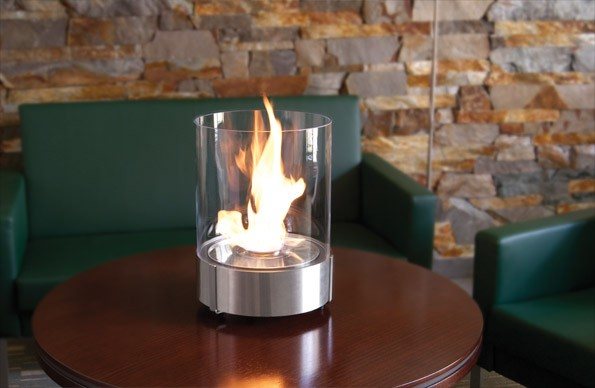
Small tabletop fireplaces are a decoration of the room and are not capable of heating it efficiently.
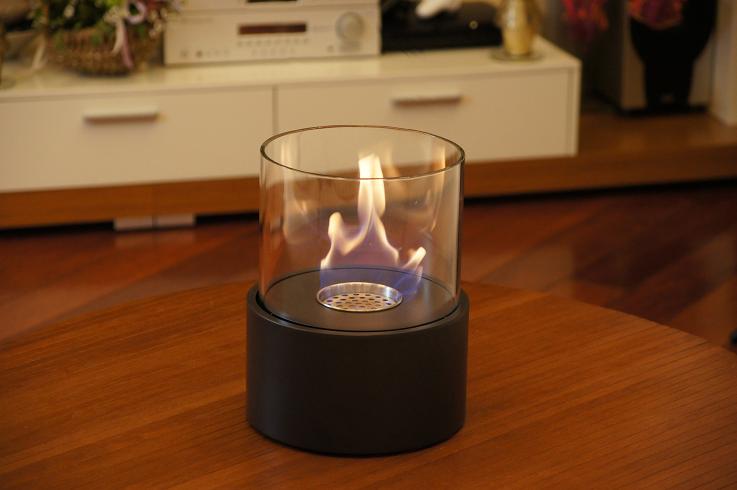
Making a bio-fireplace with your own hands from a simple mug (heat-resistant glass)
- It is recommended to make the sides from transparent heat-resistant glass - this will preserve the visibility of the burning flame;
- A fuel reservoir, as well as bolts and washers, are needed to secure and assemble the fireplace interior;
- Pre-made or purchased legs to give the structure stability. To prevent slipping and allow installation on any surface, rubber pads are additionally attached to them;
- To give the surface a presentable and well-groomed appearance, as well as additional protection, you will need heat-resistant paint.
Phased construction
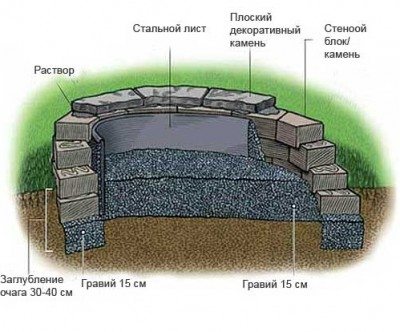
Most often we are talking about construction in a finished room, then the room already has some kind of floor covering. The flooring should be removed down to the ground or foundation screed. From metal corners welded together, a base is created according to the outline.
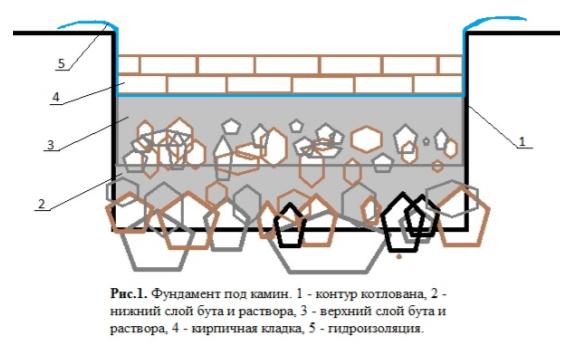
Additional metal profiles are also laid, with the addition of 1 - 1.5 cm for pouring mortar between them, which are also welded to the base. This should be done to prevent movement of the brick during pouring.
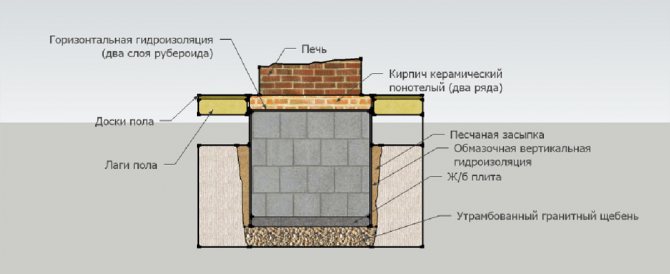
We lay it out between the profiles in one layer and fill it with the solution on top. After the constructed foundation has dried, we level out the defects and make a level. It is very important to make a 100% level, because in the future everything will be based on this basis!
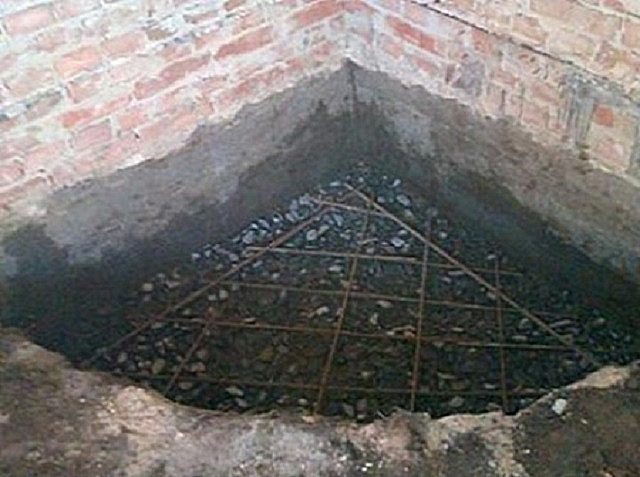
*The consistency of the solution should resemble sour cream for good and reliable penetration between the grooves. If it is too thick, it will not penetrate, and the liquid solution may crack after drying.
*The popular information that only fire-resistant bricks can be used is erroneous. You can also use regular red, adjusted for its good quality. It should be smooth and free of defects.
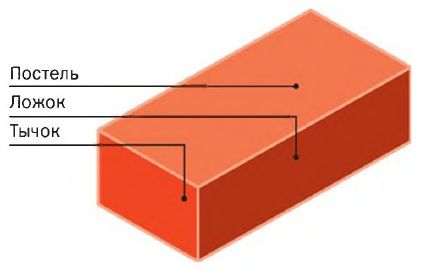
You should check the quality by lightly hitting it with a hammer; the presence of a subtle sound indicates proper quality. Each briquette is soaked in water for 2 minutes before laying; this will improve the bonding of the solution and remove unnecessary air bubbles.
THE RIGHT FUEL STORAGE MEETS 5 REQUIREMENTS.
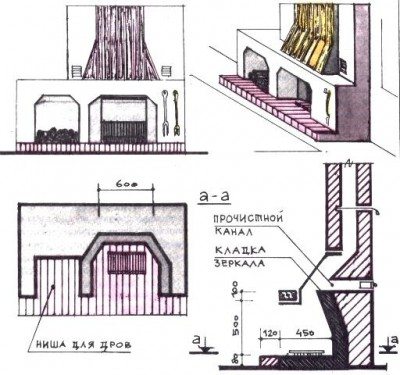
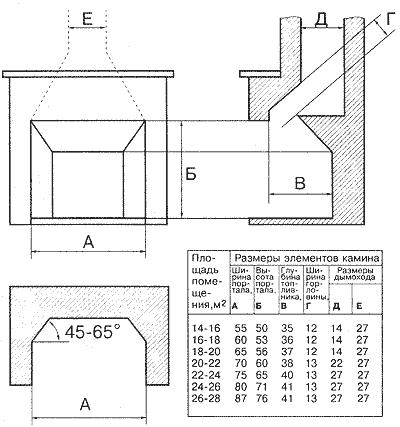
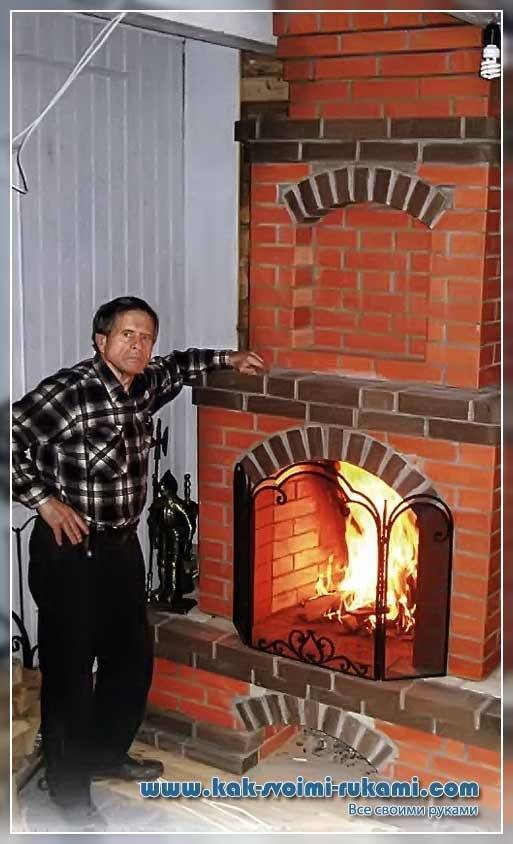
The height of the firebox opening should be equal to or slightly less than the width. If the height is excessively reduced, combustion and draft in the fireplace will be better, but the fireplace will lose its attractiveness: the firebox will turn into an embrasure. As the altitude increases, combustion and draft will weaken, and room air will rush under the firebox opening.
And the fireplace, naturally, will smoke into the room. The area of the firebox opening relates to the area of the heated room as 1:50 or 1:60, depending on the height of the ceilings and the material of the building. There is no need to enlarge the opening excessively; in a large firebox there will not be enough room air to burn wood, and the fireplace can smoke into the room. With a smaller portal size, the fireplace will lose its attractiveness.
Link on topic: Why the stove smokes - looking for the reason
The depth of the firebox should be approximately 2/3 of the height of its opening (portal). If the depth is insufficient, the combustion will be weak due to the cooling of the flame by room air, and the flame and smoke will enter the room. If the depth is excessive, the access of room air to the wood burning on the hearth will be reduced, and the fireplace can also smoke into the room.
To maximize the reflection of heat from burning wood into the heated room, the firebox has the shape of a trapezoid (in plan): its rear wall is narrower than the width of the opening by 1/4-1/5. With an opening width of, for example, 63.5 cm (2.5 bricks), the rear wall is made 45-50 cm wide. This will increase the heat-reflecting surface of the firebox.
The back wall of the firebox should be slightly inclined towards the heated room. This allows you to heat the floor of the room in an area of 3-4 m from the facade of the fireplace, and in addition, improves the draft in the fireplace itself.
This rule is not observed in almost all metal fireplaces: the back walls of the fireboxes most often do not have a slope, and the floor in front of such a fireplace always remains cold while it is being fired. The surface of the inclined wall must be smooth and not stepped. Then the flue gases flow smoothly, without turbulence, into the chimney and further into the chimney.
The angle of inclination of the wall is determined depending on the size of the fireplace. First, lay out the first 2-3 rows (depending on the height of the fireplace insert) of the brick wall. Then - with an inclination until the protrusion of the gas threshold. This protrusion is also present in the old Russian stove and is called either “tooth” or “jib”. If necessary, you can increase the slope of the wall by adding a row of brickwork to its vertical part. Reduce the slope, respectively, by removing one row. With a smaller slope, the floor in the room will warm up over a larger area from the fireplace.
One more point: the back wall should not be lined with heat-reflecting stainless steel sheets for more intense heating of the room. Firstly, such heat is harmful to health. Secondly, the back wall will heat up less than the sides. Accordingly, the brickwork in such a firebox will collapse prematurely.
Hearth layout
“Bottom” is the name given to the first rows of masonry. The importance of this stage cannot be underestimated; it is from this row that you fix the base, align the corners, and make the parallel walls of your stove even. That is why the first row of the hearth is first laid without mortar. So to speak in advance, this makes it possible to make accurate measurements.
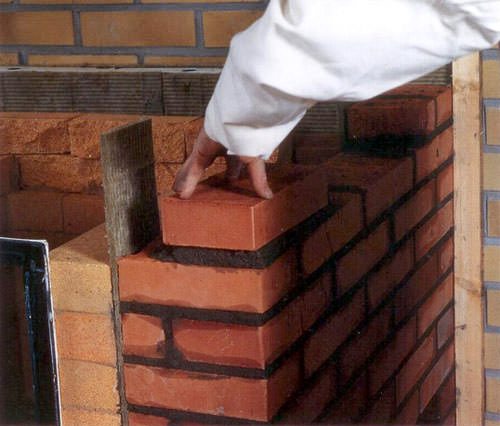
Carefully adjust until exactly even. Label and number each item with a label that is clear to you, so that you can put them back in the same order later. Carefulness at this stage will make the oven aesthetically beautiful.
Ashpit, ash pan, grate
An ash pan is a place to collect burnt material. There is an open and closed type. The closed type is used in the case of a removable grate. Also available with or without a pull-out shelf. A pull-out shelf makes cleaning easy. They pulled out the shelf and took away the evil. If it is absent, the ashes will have to be raked out with improvised means, scoops and shovels.
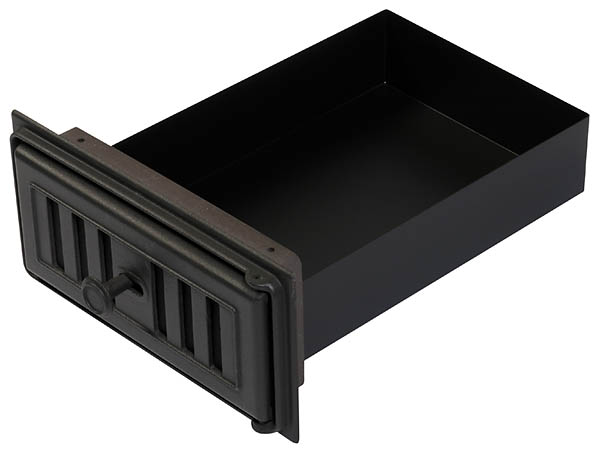
Ash pan door with drawer (350mm)
A blower is not necessary when building an open type. Air flow through the open part of the firebox will be sufficient. In rare cases, a blower is built if the installation is in a small or well-insulated room.
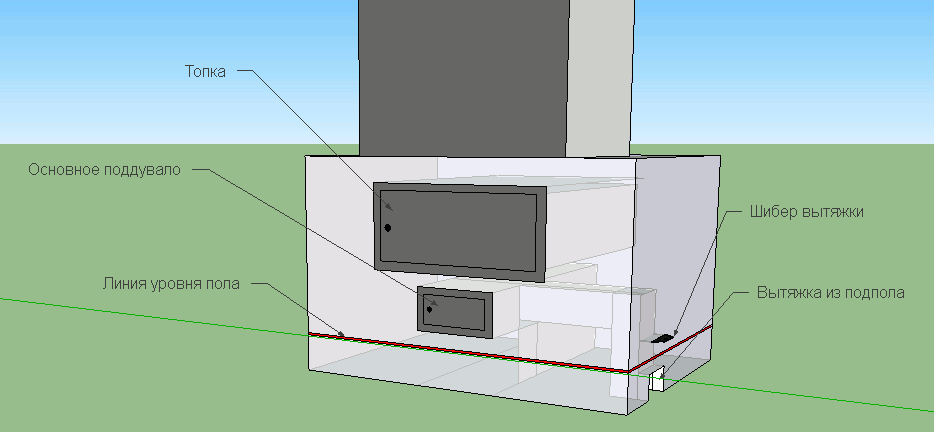
The grate is a specially adapted cast-iron grate through which ash spills into the ash pan. Selected according to the type of firewood expected. The larger the gaps between the gratings, the coarser and bulkier the material they are designed for.
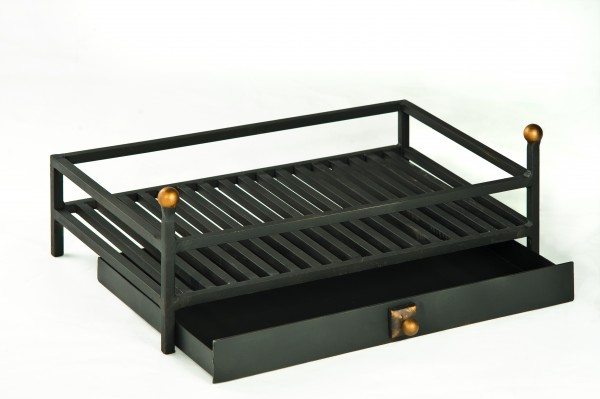
So, we lay the ash pan on top of it, at a height of 1-2 rows in a lying position, and install a grate. You should cut a nest for it in the brick, this will fix it.
Firebox construction
A firebox is a space for burning wood or coal, it comes in different shapes and sizes, it all depends on the chosen design task. The firebox is constructed in such a way that its back wall does not come into contact with the back wall.
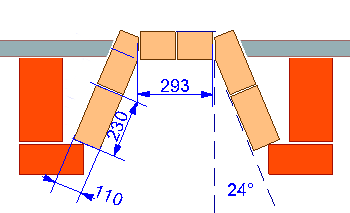
This is necessary for fire safety. The remaining walls may come into contact with the firebox, this is determined by the factor of the heat convention you desire. Only the firebox requires the use of fireproof material. It is important to remember that the internal walls of the fuel bunker are not plastered. Make sure in advance that there is a demarcation grid between the fuel box and the room to secure it.
Essential elements
Like the largest and most massive wall-mounted, island, and tabletop alcohol fireplace, it consists of the following elements:
| Elements and components | Detailed description |
| Alcohol plant
| Alcohol fireplaces operate on the capillary principle and have a fairly simple structure. The fuel moves along the installed wick, which burns at the opposite end. The burner itself operates on the principle of combustion of gas vapors. As a result, the combustion and functioning process itself is formed and started. |
| Fuel tank
| It can have different shapes and sizes, and is made of heat-resistant and non-flammable materials. A special lid is needed both to protect the structure and to light or extinguish the fire. The fuel tank and the heater itself must be installed in a special fireproof base that is resistant to extreme heat and high temperatures. |
| Fuel
| The price of fuel is quite high due to its high consumption with regular use of the fireplace. Bioethanol is also distinguished by its environmental friendliness and natural composition. It is formed by fermentation of wort, followed by distillation. The use of such fuel is safe due to the absence of any harmful emissions and fumes. In this case, it is not the liquid itself that burns, but only the gases released, which also avoids heating the glass container and the formation of soot and soot deposits inside the structure. |
| Hearth
| There is a fire burning in the hearth. For the smallest tabletop fireplaces, the hearth can be combined with a fuel tank. Massive floor-standing models, on the contrary, can be additionally equipped with a valve and an easy-to-use control panel. |
| Portal
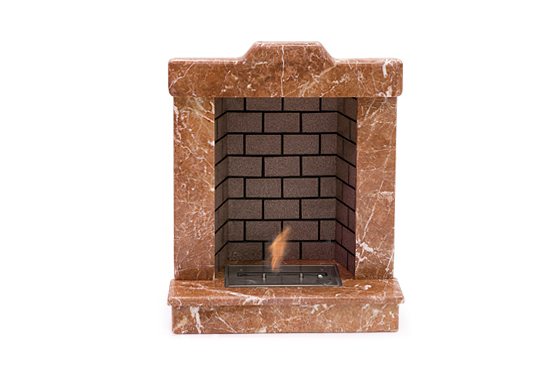
| Alcohol-fired fireplaces can have a unique frame that serves exclusively a supporting and decorative function. In most cases, this element is included in floor-standing and hanging models. |
Important: despite the versatility of these fireplaces, they can only be installed in well-ventilated and ventilated rooms, with an area of 20 square meters for large corner, island, wall-mounted, built-in and hanging models and from 15 for miniature tabletop ones. The largest models are quite expensive to maintain, since the bioethanol in the fuel tank burns out quite quickly during continuous operation at full power.
If you want to visually familiarize yourself with the main features and types of alcohol structures, we recommend viewing the photos in this article.
Smoke exhaust
The chimney is constructed by gradually moving the masonry towards the inside, and a smoke chamber is built above the firebox. This is done using a cornice between the firebox and the chimney. The resulting pass will prevent sparks and soot from flying out of the firebox, as well as smoke from escaping into the room.
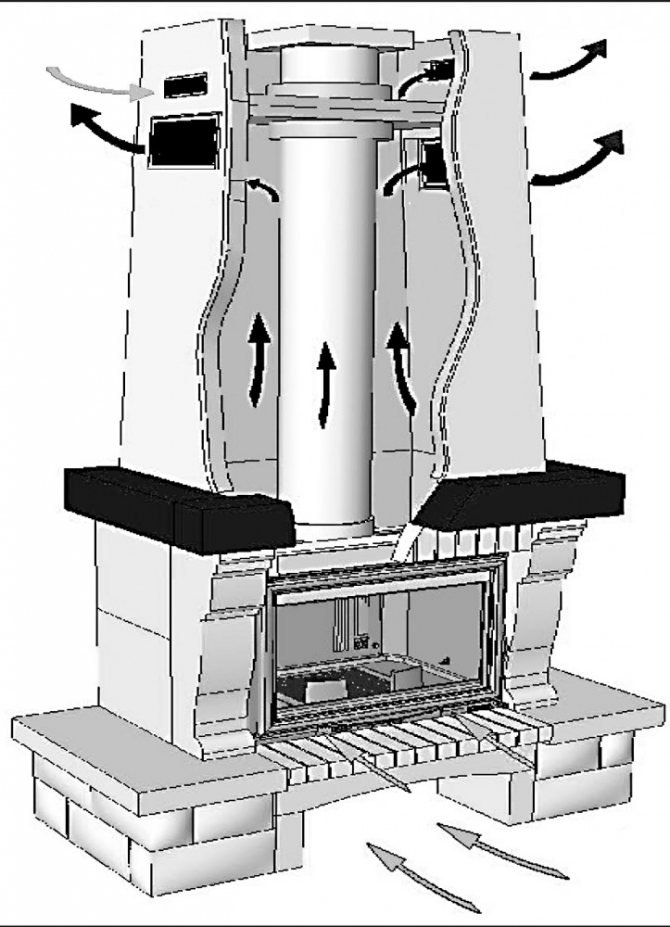
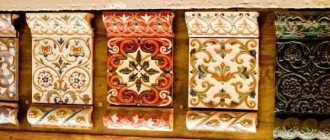
Cladding works
They are carried out after the first trial use. So that in case of shortcomings and mistakes, and in the future it is not necessary to remove the cladding, which can render it unusable. In frequent cases, colored grout is used; it is simple and effective.
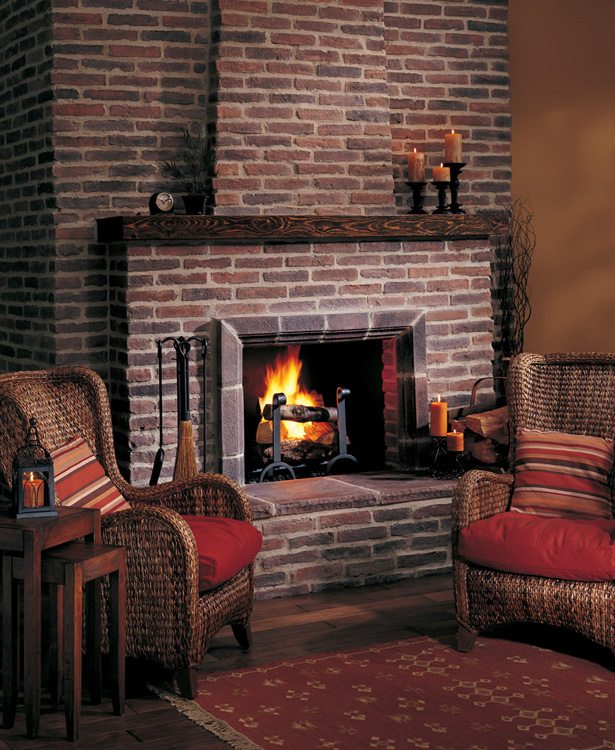
The advantage of doing it yourself is saving money. The disadvantage is the huge number of nuances and tricks. But if you have a good and high-quality project, you will be reliably protected from difficulties. I wish you success!
